9 Building an “ipsum-app”
9.1 Prototyping is crucial
9.1.1 Prototype, then polish
Prototyping first may help keep you from investing far too much time for marginal gains.
The Art of UNIX Programming (Raymond 2003)
And yet another rule from The Art of Unix Programming: “Rule of Optimization: Prototype before polishing. Get it working before you optimize it.” Getting things to work before trying to optimize the app is always a good approach:
- Making things work before working on low-level optimization makes the whole engineering process easier: having a “minimal viable product” that works, even if slowly and not perfectly, gives a stronger sense of success to the project. For example if you are building a vehicle, it feels more of a success to start with a skateboard than with a wheel: you quickly have a product that can be used to move, not waiting for the end of the project before finally having something useful. Building a skateboard helps the developer maintain a sense of accomplishment throughout the life of the project: the quicker you can have a running program, a MVP (Minimum Viable Product, as seen on Figure 9.1), the better.
One of the really nice things about running your program frequently is that you get to see it running, which is fun, and that’s what programming is all about.
The Unicorn Project (Kim 2019)
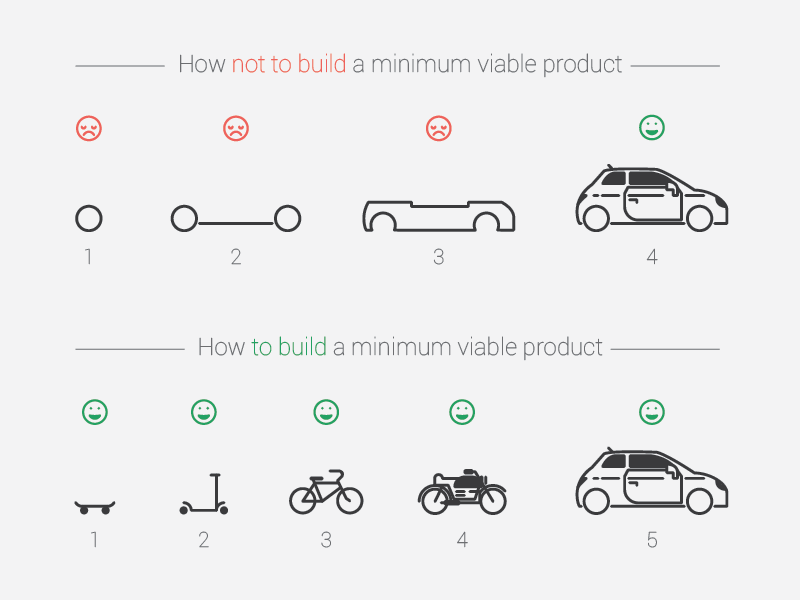
FIGURE 9.1: Building a minimum viable product (MVP).
- Abstraction is hard, and makes the codebase harder to work with. You have heard a lot that if you are copying and pasting something more than twice, you should write a function. And with shiny, if you are writing a piece of the app more than twice, you should write modules. But while these kinds of abstractions are elegant and optimized, they can make the software harder to work on while building it. So before focusing on turning something into a function, make it work first. As said in R for Data Science (Wickham and Grolemund 2017) about abstraction with purrr (Wickham and Henry 2023):
Once you master these functions, you’ll find it takes much less time to solve iteration problems. But you should never feel bad about using a for loop instead of a map function. The map functions are a step up a tower of abstraction, and it can take a long time to get your head around how they work. The important thing is that you solve the problem that you’re working on, not write the most concise and elegant code (although that’s definitely something you want to strive towards!).
R for Data Science - 21.5 The map functions (Wickham and Grolemund 2017)
As a small example, we can refer to the binding module from hexmake (Fay 2023g): this module manipulates namespaces, inputs, and session to automatically bind inputs to the R6 object containing the image (see implementation here, here and here).
That’s an elegant solution: instead of duplicating content, we use functions to automatically bind events.
But that is a higher level of abstraction: we manipulate different levels of namespacing and inputs, making it harder to reason about when you have to change the codebase.
It’s hard to identify upfront the real bottlenecks of the app. As long as the app is not in a working state, it is very hard to identify the real pieces of code that need to be optimized. Chances are that if you ask yourself upfront what the app bottlenecks will be, you will not aim right. Instead of losing time focusing on specific pieces of code you think need to be optimized, start by having something that works, then optimize the code. In other words, “Make It Work. Make It Right. Make It Fast”, (KentBeck).
It’s easier to spot mistakes when you have something that can run. If a piece of software runs, it is straightforward to check if a change in the codebase breaks the software or not: it either still runs or not.
9.1.2 The “UI first” approach
Using what can be called a “UI first” approach when building an app is in most cases the safest way to go. And for two main reasons.
A. Agreeing on specifications
First of all, it helps everybody involved in the application to agree on what the app is supposed to do, and once the UI is set, there should be no “surprise implementation”. Well, at least, this is the best way to reduce the number of changes in the app, as the sooner we have a global idea of the app, the better. It is hard to implement a core new feature once the app is 90% finished, while it would have been way easier to implement it if it had been detected from the very start. Indeed, implementing core features once the app is very advanced can be critical, as our application might not have been thought to work the way it now needs to work, so adding certain elements might lead to a need for change in the core architecture of the app. Once we agree on what elements compose the app, there should be no sudden “oh, the app needs to do that thing now, sorry I hadn’t realized that before”.
We cannot blame the person ordering the app for not realizing everything needed to build the app: it is really hard to have a mental model of the whole software when we are writing specifications, not to mention when reading them. On the other hand, having a mock application with the UI really helps us realize what the app is doing and how it works, and to agree with the developer that this is actually what we want our application to do (or realize that this is not something we actually need).
Prototyping the UI first should require the least possible computation from the server side of your application. You focus on the appearance of the app: buttons, figures, tables, and graphs, and how they interact with each other. At that stage of the design process, you will not be focusing on the correctness of the results or graphs: you will be placing elements on the front-end so that you can be sure that everything is there, even if some buttons do not trigger anything. At that point, the idea is to get the people who are ordering the app to think about what they actually need, and there might be a question like “oh, where is the button to download the results in a pdf?”. And at that precise moment is the perfect time for a change in specification.
B. Organizing work
A pre-defined UI allows every person involved in the coding process to know which part of the app they are working on, and to be sure that you do not forget anything. As you might be working on the app as a team, you will need to find a strategy for efficiently splitting the work among coders. It’s much easier to work on a piece of the app you can visually identify and integrate in a complete app scenario. In other words, it is easier to be told “you will be working on the ‘Summary’ panel from that mock UI” than “you will be working on bullet points 45 to 78 of the specifications”.
9.2 Prototyping {shiny}
In the next section, you will be introduced to two packages that can be used when prototyping a user interface: shinipsum (Fay and Rochette 2023b) and fakir (Fay and Rochette 2023a).
9.2.1 Fast UI prototyping with {shinipsum}
When prototyping the UI for an application, we will not be focusing on building the actual computation: what we need is to create a draft with visual components, so that we can have visual clues about the end result. To do that, you can use the shinipsum package, which has been designed to generate random shiny (Chang et al. 2022) elements. If you are familiar with “lorem ipsum”, the fake text generator that is used in software design as a placeholder for text, the idea is the same: generating placeholders for shiny outputs. For an example of an application built with shinipsum, please visit engineering-shiny.org/shinipsum/, or engineering-shiny.org/golemhtmltemplate/: both these applications should look a little bit different every time you open them!
shinipsum can be installed from CRAN with:
install.packages("shinipsum")You can install this package from GitHub with:
remotes::install_github("Thinkr-open/shinipsum")This package includes a series of functions that generates random placeholders.
For example, random_ggplot() generates random ggplot2 (Wickham, Chang, et al. 2023) elements.
If we run this code two times, we should get different results, as seen on Figure 9.2 and Figure 9.3.37
random_ggplot() +
labs(title = "Random plot") 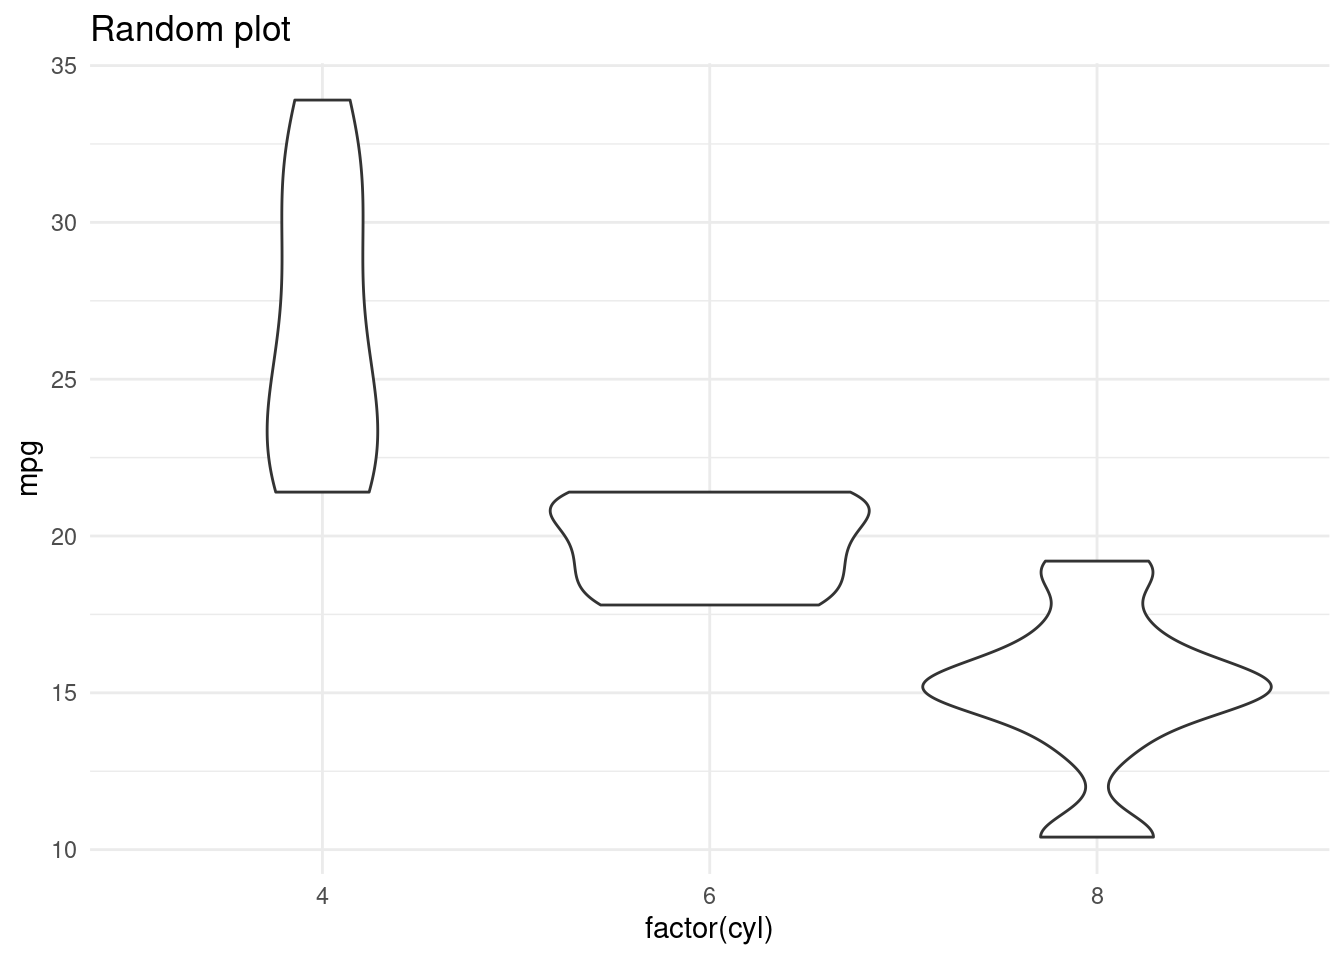
FIGURE 9.2: A random plot.
random_ggplot() +
  labs(title = "Random plot")
Bin width defaults to 1/30 of the range of the data.
Pick better value with `binwidth`.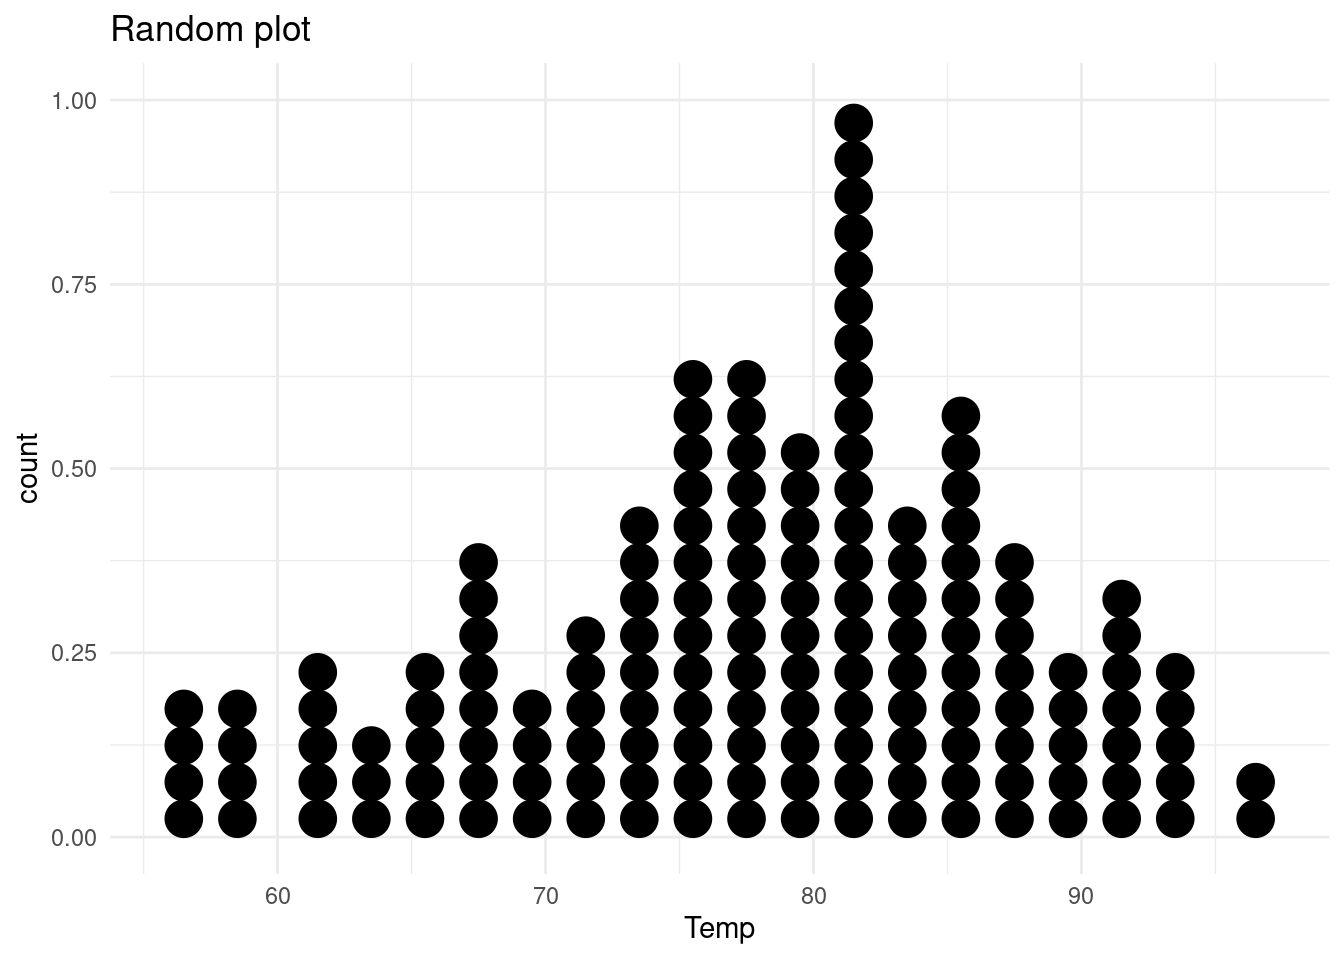
FIGURE 9.3: Another random plot.
Of course, the idea is to combine this with a shiny interface, for example, random_ggplot() will be used with a renderPlot() and plotOutput().
And as we want to prototype but still be close to what the app might look like, these functions take arguments that can shape the output: for example, random_ggplot() has a type parameter that can help you select a specific ggplot2 geom.
library(shiny)
library(shinipsum)
library(DT)
ui <- fluidPage(
  h2("A Random DT"),
  DTOutput("data_table"),
  h2("A Random Plot"),
  plotOutput("plot"),
  h2("A Random Text"),
  tableOutput("text")
)

server <- function(input, output, session) {
  output$data_table <- DT::renderDT({
    random_DT(5, 5)
  })
  output$plot <- renderPlot({
    random_ggplot()
  })
  output$text <- renderText({
    random_text(nwords = 50)
  })
}
shinyApp(ui, server)
Figure 9.4 is a screenshot of this application.
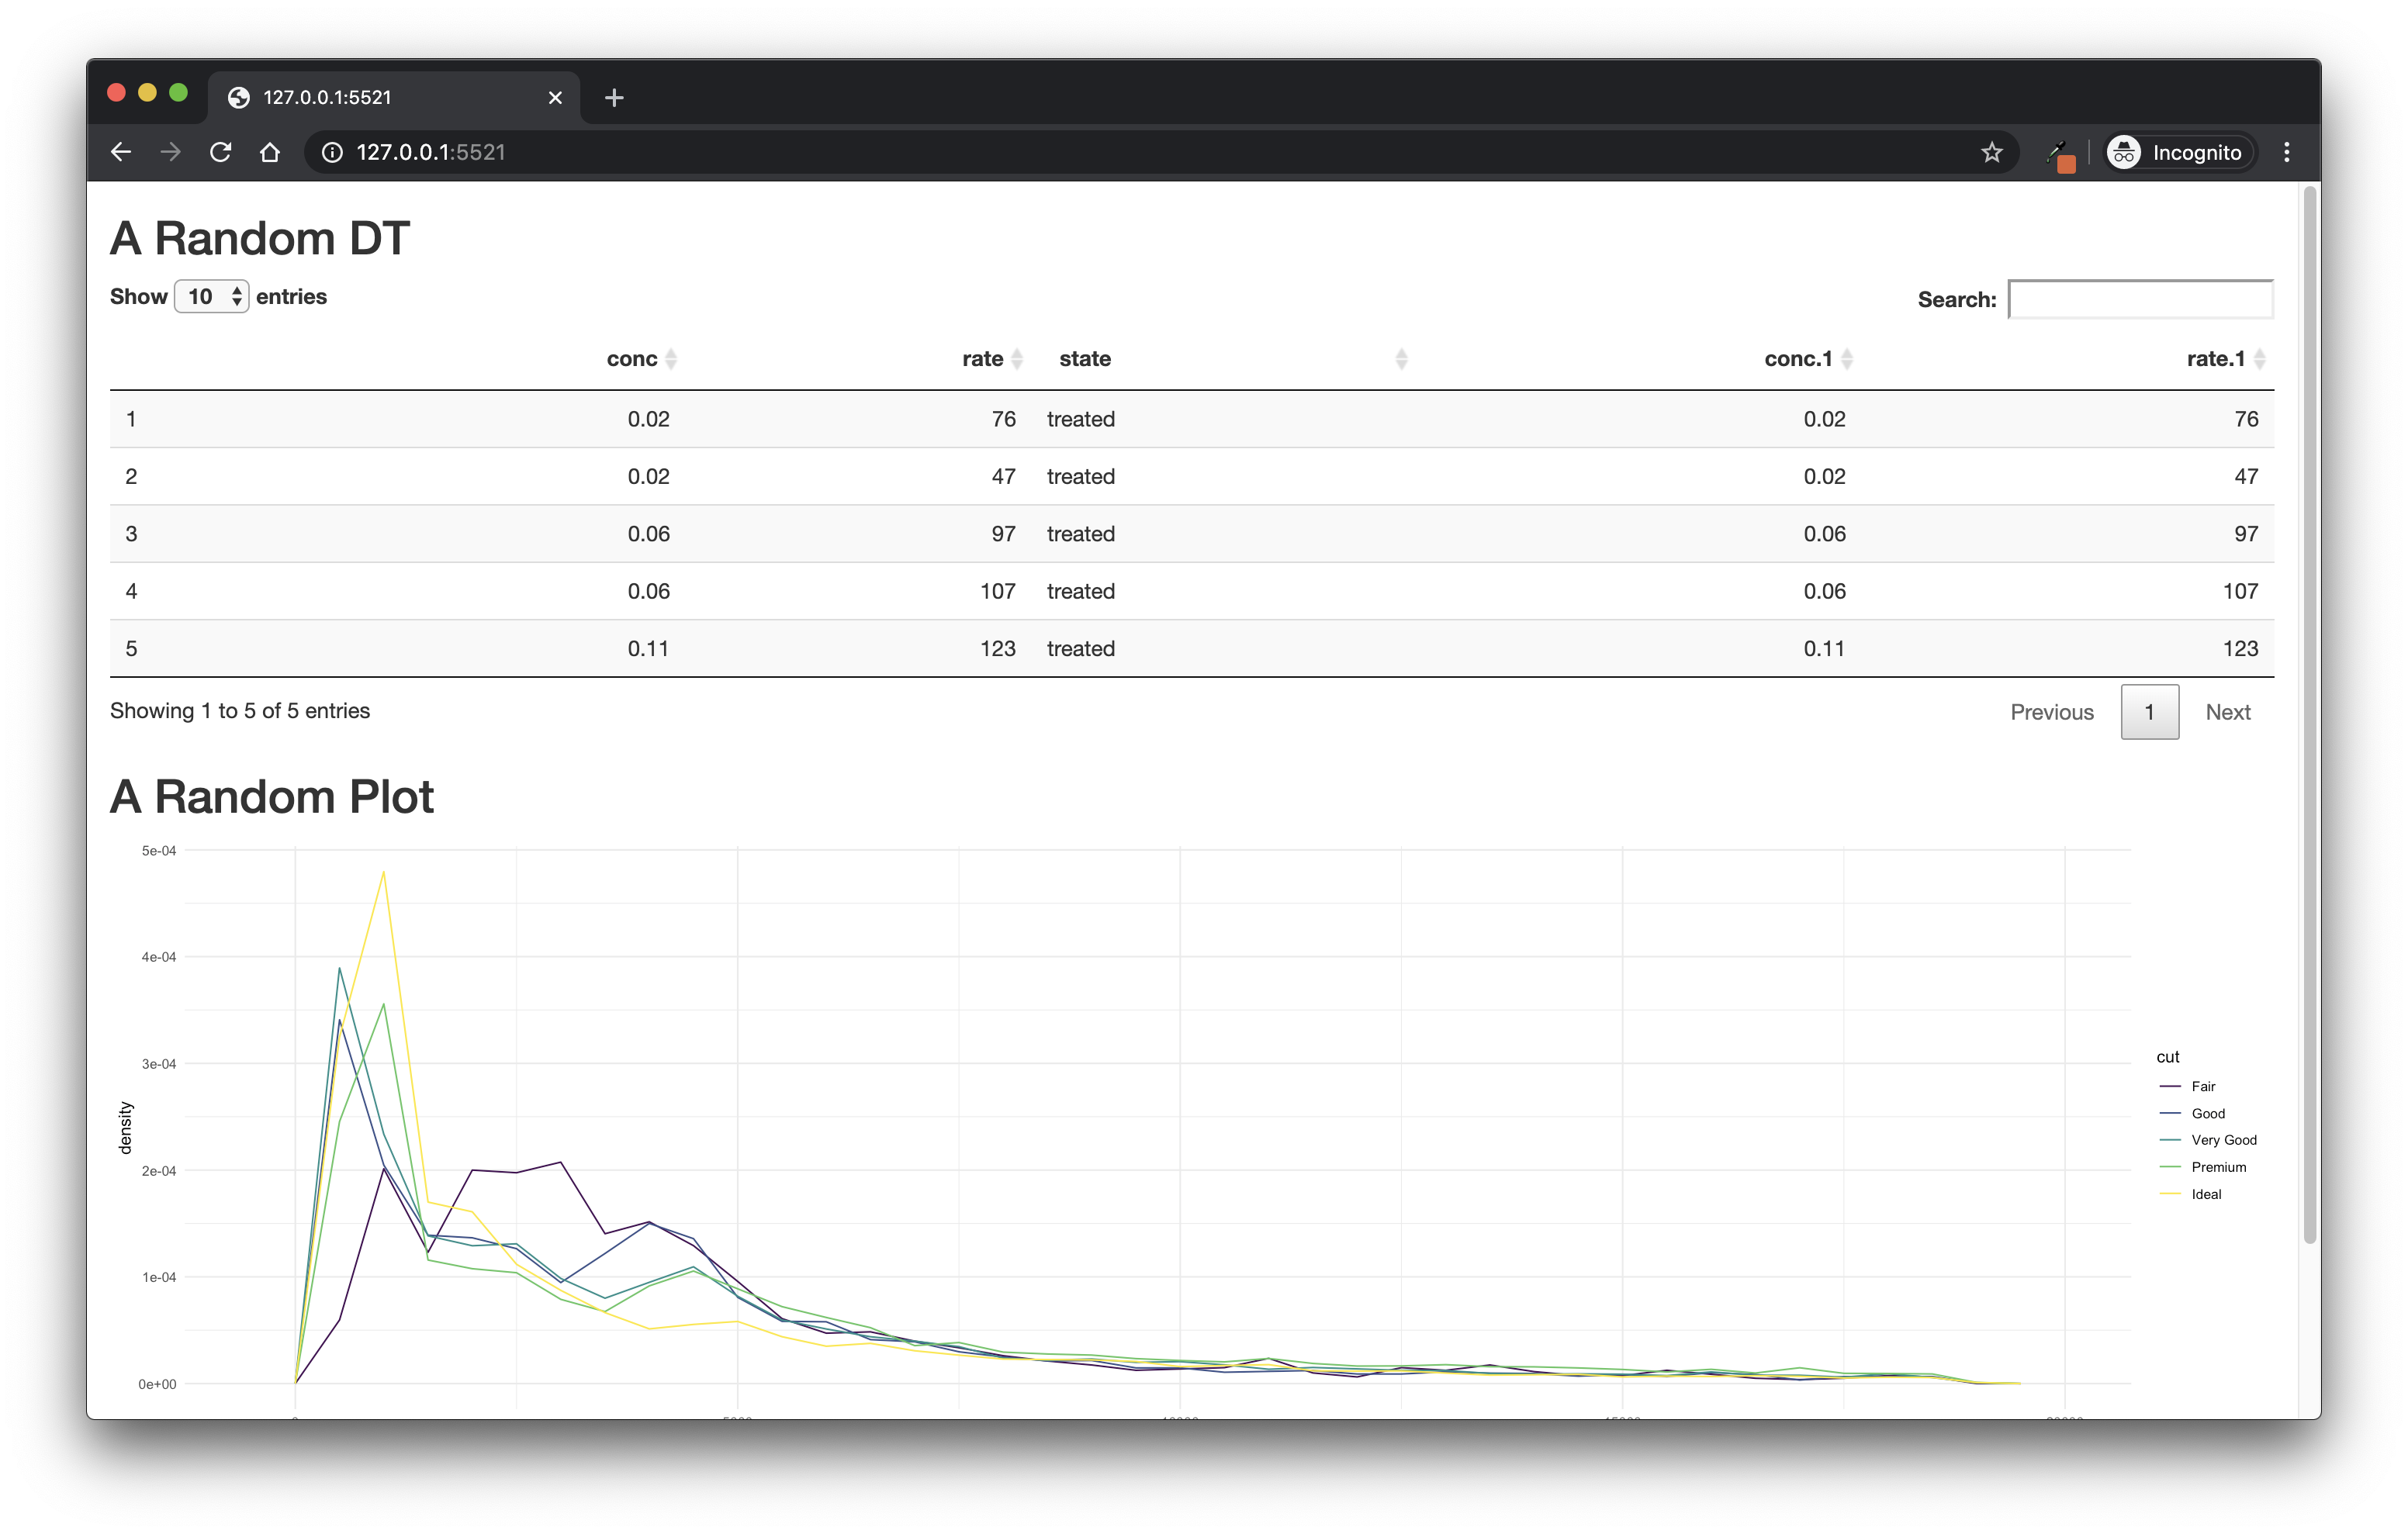
FIGURE 9.4: An app built with shinipsum.
Other shinipsum functions include:
- tables:
random_table(nrow = 3, ncol = 3) day time temp
1 346 840 36.33
2 346 850 36.34
3 346 900 36.35- print outputs:
random_print(type = "model")
    Shapiro-Wilk normality test

data:  datasets::airquality$Ozone
W = 0.88, p-value = 3e-08
and text, image, ggplotly, dygraph, and DT.
shinipsum is also a good tool if you want to demonstrate what a given UI framework will look like if used in shiny.
This is, for example, what you find with {golemhtmltemplate}, available at engineering-shiny.org/golemhtmltemplate/, which uses a W3 web page template.38
9.2.2 Using {fakir} for fake data generation
Generating random placeholders for shiny might not be enough: maybe you also need example datasets.
This can be accomplished using the fakir package, which was primarily created to provide fake datasets for R tutorials and exercises, but that can easily be used inside a shiny application.
At the time of writing these lines, the package is only available on GitHub, and can be installed with:
remotes::install_github("Thinkr-open/fakir")This package contains three datasets that are randomly generated when you call the corresponding functions:
fake_base_clients()generates a fake dataset for a ticketing service.fake_sondage_answers()is a fake survey about transportation.fake_visits()is a fake dataset for the visits on a website.
library(fakir)
fake_visits(from = "2017-01-01", to = "2017-01-31")
# A tibble: 31 × 8
timestamp year month day home about blog
* <date> <dbl> <dbl> <int> <int> <int> <int>
1 2017-01-01 2017 1 1 369 220 404
2 2017-01-02 2017 1 2 159 250 414
3 2017-01-03 2017 1 3 436 170 498
4 2017-01-04 2017 1 4 NA 258 526
5 2017-01-05 2017 1 5 362 NA 407
6 2017-01-06 2017 1 6 245 145 576
7 2017-01-07 2017 1 7 NA NA 484
8 2017-01-08 2017 1 8 461 103 441
9 2017-01-09 2017 1 9 337 113 673
10 2017-01-10 2017 1 10 NA 169 308
# ℹ 21 more rows
# ℹ 1 more variable: contact <int>The idea with these datasets is to combine various formats that can reflect “real-life” datasets: they contain dates, numeric and character variables, and have missing values.
They can also be manipulated with the included sf (R-sf?) geographical dataset fra_sf allowing for map creation.
Fake datasets created with fakir can be used to build light examples on the use of the inputs, for filters or interactive maps, or as examples for the internal functions and their corresponding documentation.
9.3 Building with RMarkdown
While on one side you are building the user interface, you (or someone from your team) can start working on the back-end implementation. This implementation should be done out of any reactive logic: the back-end should not depend on any reactive context. And because documentation is gold, you should start with writing the back-end documentation directly as package documentation:
Inside your Vignettes folder: call
usethis::use_vignette()to create the skeleton for a Vignette, which will then be used as package documentation.In the
inst/folder, if you prefer not including these RMarkdown files as documentation for the end package.
Or what we call “Rmd-first”.
9.3.1 Define the content of the application
Rmarkdown files are the perfect spot to sandbox the back-end of your application: inside the file, you don’t have to think about any reactive behavior, as you are just working with plain old R code: data wrangling operations, multi-parameter-based models, summary tables outputs, graphical outputs, etc.
And the nice thing is that you can share the output of the rendered file as an HTML or PDF to either your client or boss, or anyone involved in the project. That way, you can focus on the core algorithm, not some UI implementation like “I want the button to be blue” when what you need to know is if the output of the model is correct. In other words, you are applying the rule of the separation of concerns, i.e. you help focus on one part of the application without adding any cognitive load to the person “reading” the outputs. And, last but not least, if you have to implement changes to the back-end functions, it is way easier to check and to share in a static file than in an application.
When doing that, the best way is again to separate things: do not be afraid of writing multiple RMarkdown files, one for each part of the end application. Again, this will help everybody focus on what matters: be it you, your team, or the person ordering the application.
Building the back-end in Rmd files is also a good way to make the back-end “application independent”, in the sense that it helps in documenting how the algorithms you have been building can be used outside of the application. In many cases, when you are building an application, you are creating functions that contain business logic/domain expertise, and that can, in fact, be used outside of the application. Writing these functions and how they work together forces you to think about these functions, and also gives a good starting point for anybody familiar with R that would want to start using this back-end toolkit. Of course, as you are building your application as a package, it is way easier now: you can share a package with the application inside it, along with a function to launch the app, but also functions that can be used outside.
And if you need some data to use as an example, feel free to pick one from fakir!
9.3.2 Using the Rmd files as a laboratory notebook
Rmd can also be used as the place to keep track of what you have in mind while creating the application: most of the time, you will create the functions inside the R/ folder, but it might not be the perfect place to document your thought process.
On the other hand, using Markdown as a kind of “software laboratory notebook” to keep track of your idea is a good way to document all the choices you have made about your data wrangling, models, visualization, so that you can use it as a common knowledge-base throughout the application life: you can share this with your client, with the rest of your team, or with anybody involved in the project.
And also, developing in multiple Rmd files helps the separation of work between multiple developers, and will reduce code conflicts during development.
9.3.3 Rmd, Vignettes, and documentation first
Working with the golem (Fay, Guyader, Rochette, et al. 2023) framework implies that you will build the application as an R package.
And of course, an R package implies writing documentation: one of the main goals of the Vignettes, in an R package, is to document how to use the package.
And the good news is that when checking a package, i.e. when running check() from devtools (Wickham, Hester, et al. 2022) or R CMD check, the Vignettes are going to be built, and the process will fail if at least one of the Vignettes fails to render.
That way, you can use the documentation of the back-end as an extra tool for doing unit testing!
One radical approach to the “Rmd first” philosophy is to write everything in an Rmd from the very beginning of your project: write the function code, their roxygen tags, their tests, etc., then move everything to the correct spot in the package infrastructure once you are happy with everything. And of course, when you need to add another feature to your app, open a new markdown and start the process of development and documentation again.